
The story of how the Memorial Day Poppy came to be an American symbol of remembrance starts back in 1915.
World War I raged on. The fields near the Belgian city of Ypres were dotted with blooming red poppy plants, the sturdy flowers oblivious to the tumolt to come. The quiet fields became the site of a major battle in which 87,000 allied soldiers died. Channelling the grief from what he witnessed, Canadian artillery unit brigade surgeon John McCrae wrote the In Flanders Field, a poem that visualized those resilient poppies blooming still between the rows of Allied graves.
His poem went old school viral, printed in numerous publications and often used at memorial services. Moved by his words, University of Georgia Professor Moina Michael decided to make and sell red poppies to raise funds for returning war veterans. In 1920, with her encouragement, the Georgia chapter of the American Legion recognized the flower as a remembrance symbol. The same year it was adopted by the American Legion nationwide.
Meanwhile in France, Anna Guérlin was making and selling poppies to raise funds for orphans, widows and veterans. She promoted Poppy Days throughout the Allied countries, leading to factories being set up to make the flowers providing employment for veterans. In Europe, it is more likely to be seen on Armistice Day, November 11.
The Memorial Day poppy continues to be sold to raise funds both in the United States and around the world.

Make a Memorial Day Poppy
If you don’t have an American Legion poppy, you can still show wear a symbol of rememberance. Making a Memorial Day poppy to wear on your lapel is fast, easy and uses materials you probably have around the house.
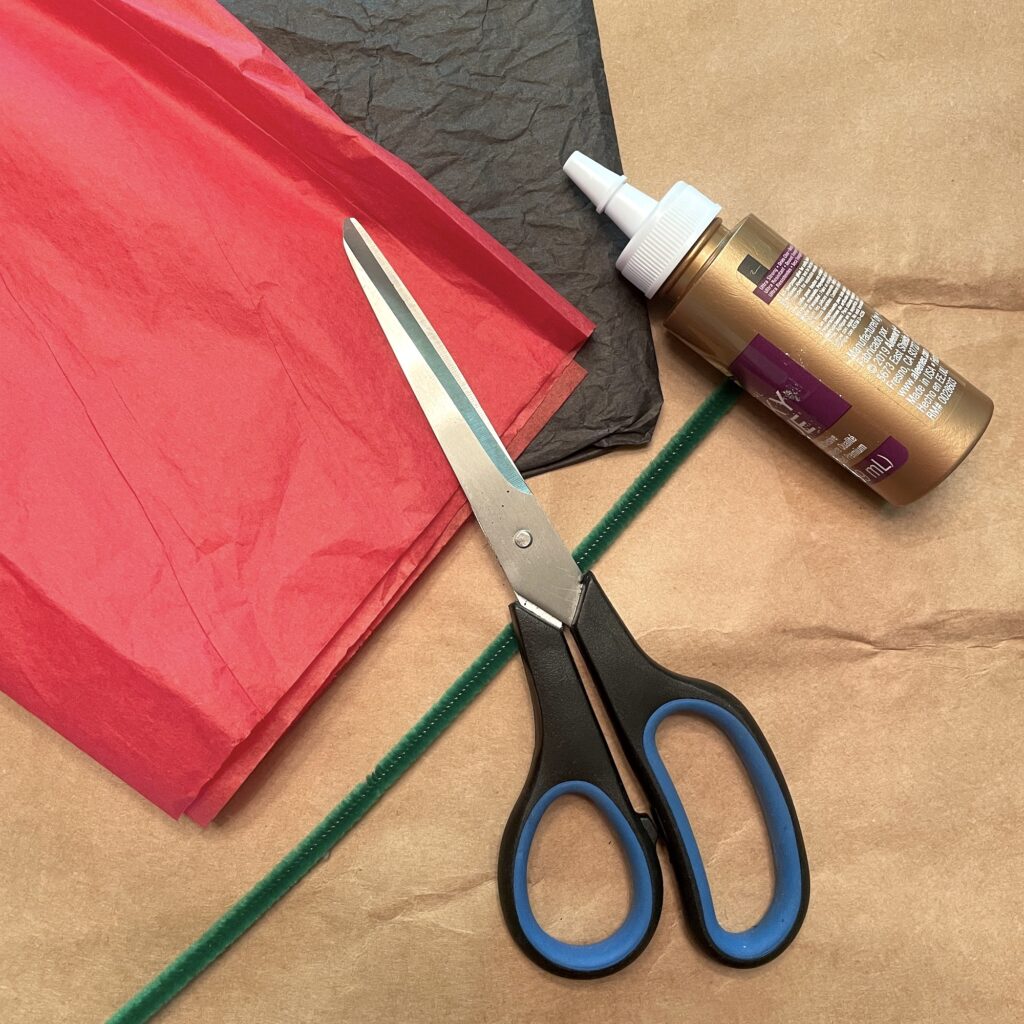
Materials
- 6″ wide strip of red tissue paper
- 6″ x 6″ square of black tissue paper
- 8″ length of pipe cleaner
- white glue
- scissors
- corsage or other straight pin
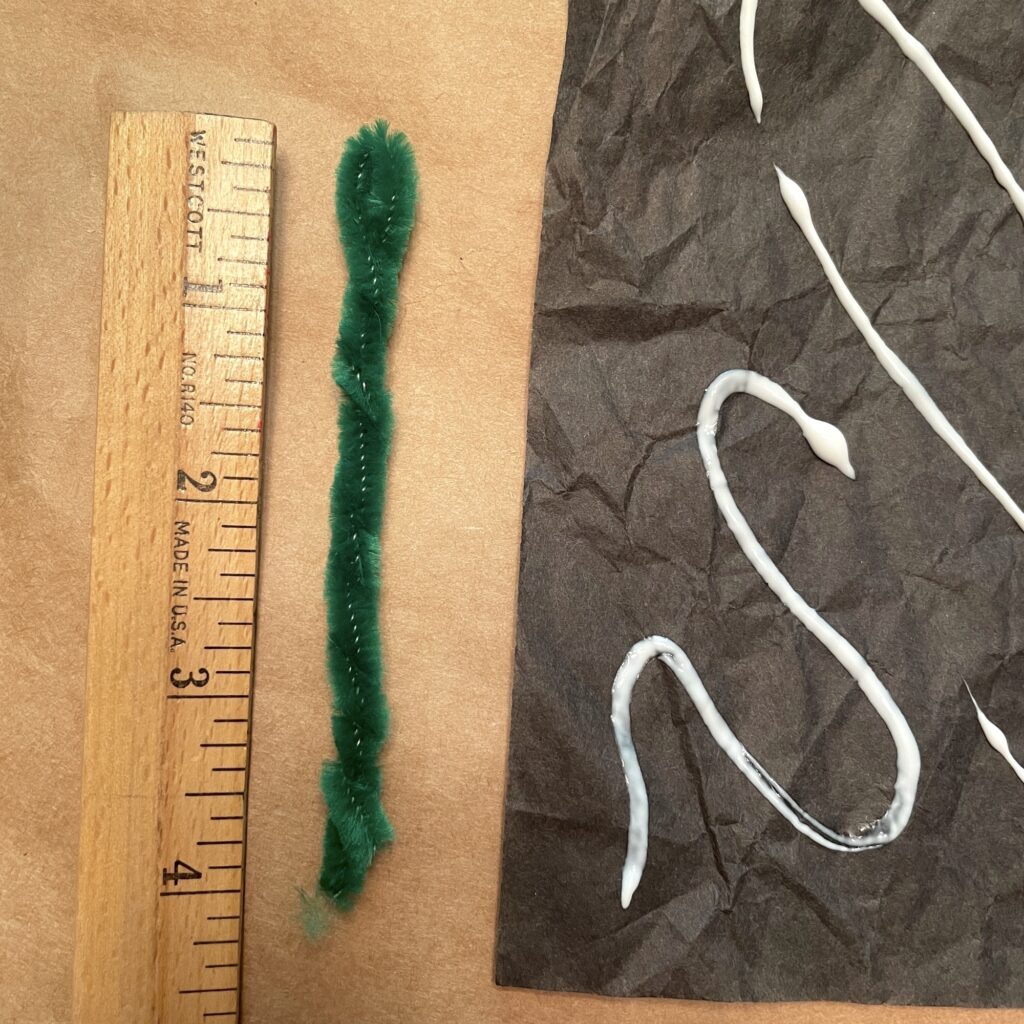
Bend the pipe cleaner in half and make a twist. This makes it chunky enough to support the flower when you pin it to your lapel.

Lightly drizzle white glue across the black tissue paper square the way you would put icing from the plastic packet across a frozen toaster pastry. Unlike icing, there is such a thing as too much glue. Don’t overdo it.
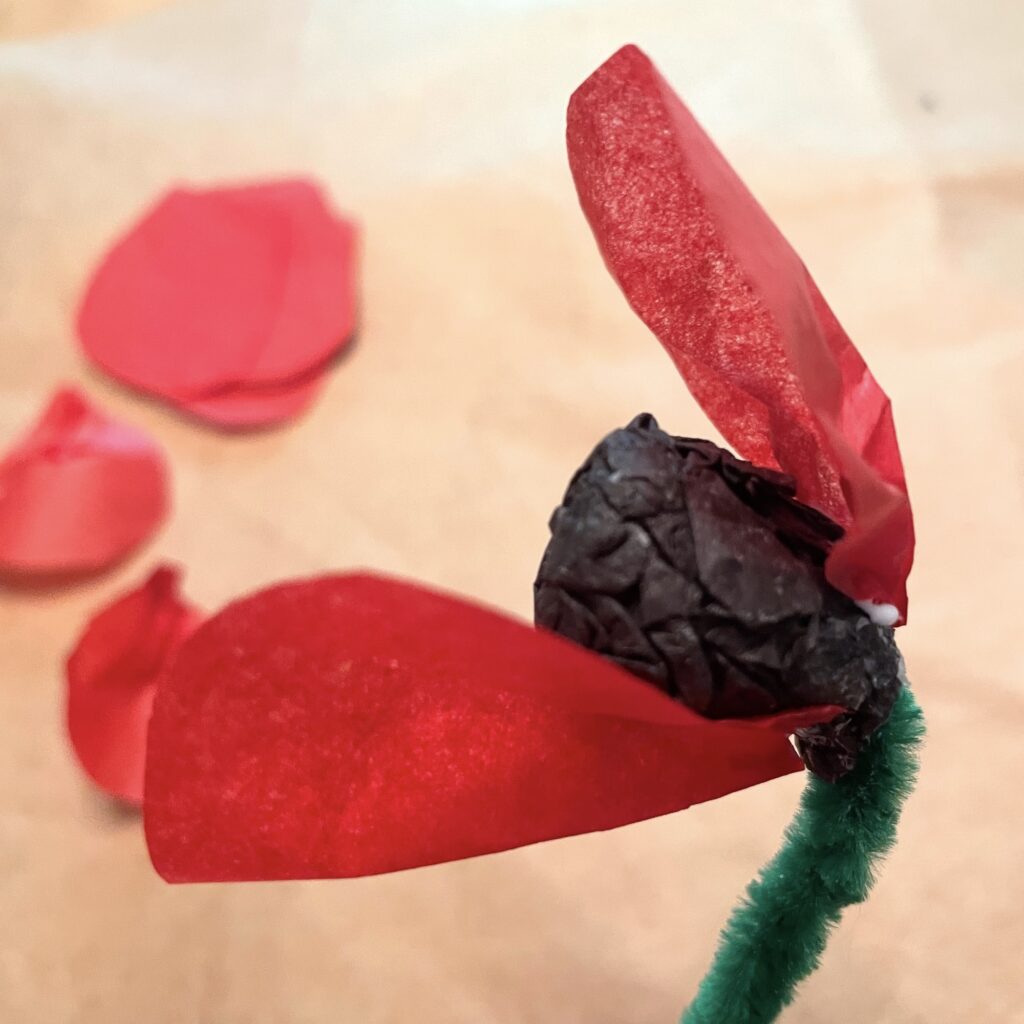
Scrunch the black tissue paper into a ball with the glue inside. It will have an almost dough-like texture that you can mash and mold. Wrinkled texture is good.
Poke the pipe cleaner into the ball, and draw parts of the tissue up a little way up the pipe cleaner to stabilize it. Your shape will look a little like a little lollipop in a black tissue paper wrapper. Add a little more glue where the paper wraps the pipe cleaner. (If you are smarter than me, you will put the cut end into the ball for a nicer finish, but you know, either way works.)
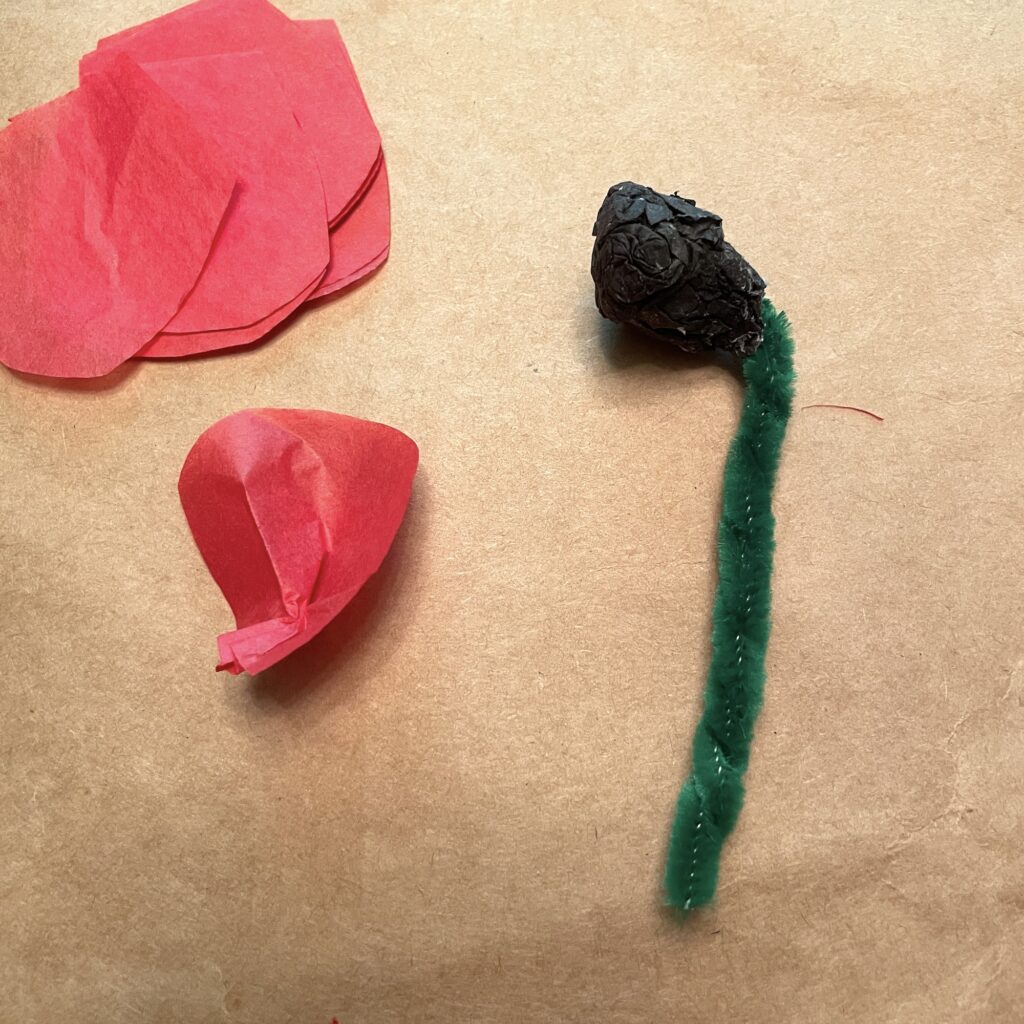
Bend the stem into an L-shape by the black tissue paper lollipop.
Fold your 6″ strip of paper in half. Accordion pleat the strip in folds about 2″ wide. Don’t go too far, you only need 8 petals.
Cut a petal shape that’s about 1.75″ tall and 1.75″ wide at the top. The bottom should taper to about 1.25″.
Crimp the bottom edge of the petal together. This will give the petal it’s shape.
Glue the first two petals to the center, applying them opposite one another.
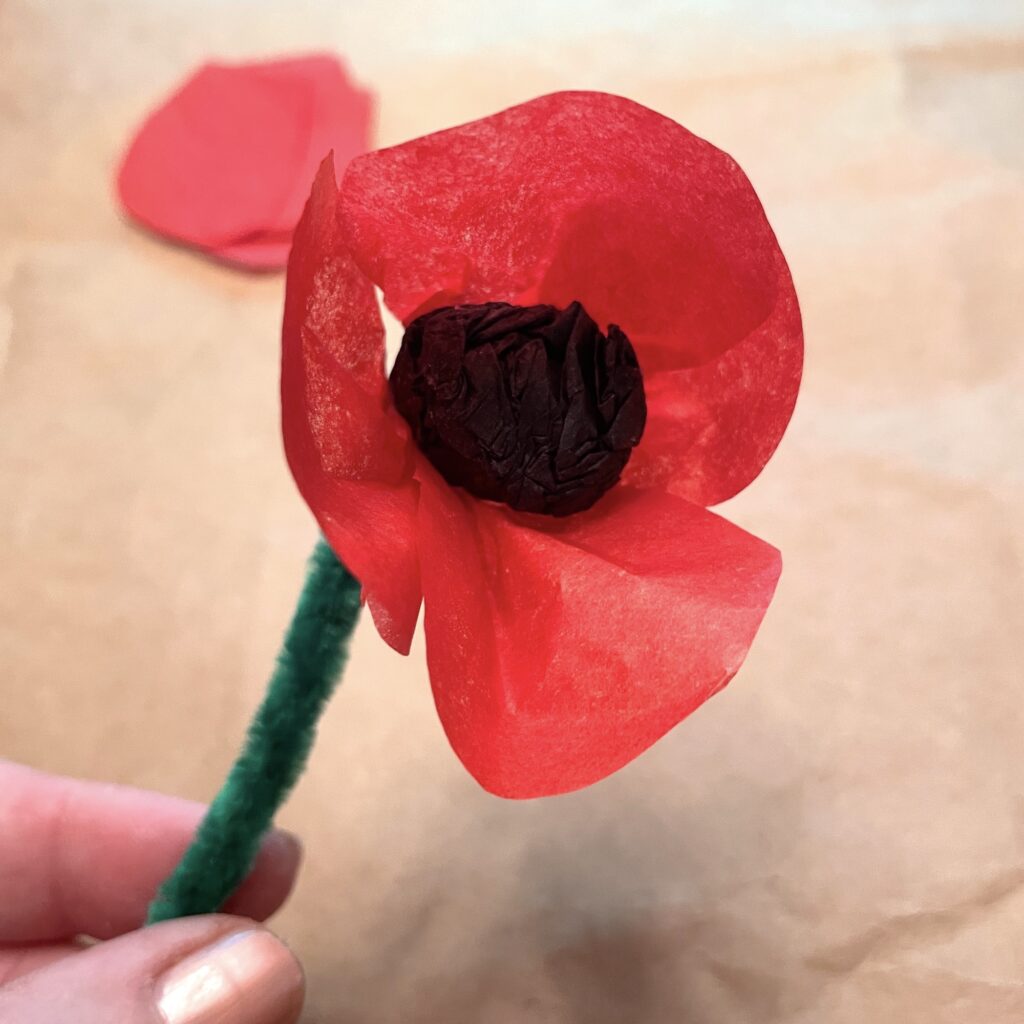
Finish the first round of four petals. Apply a second round, offsetting them from the first round so they cover the area between petals.
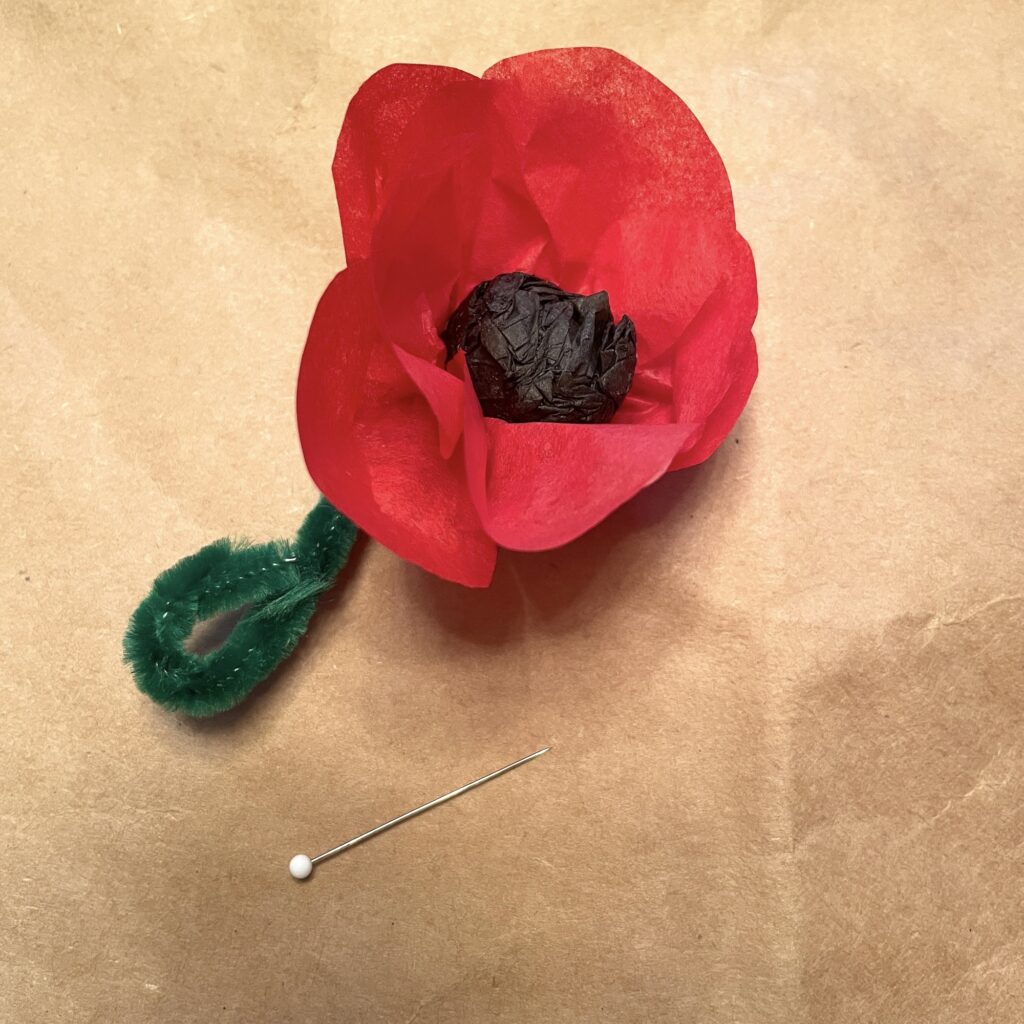
Wait for it to dry and pin it on!