
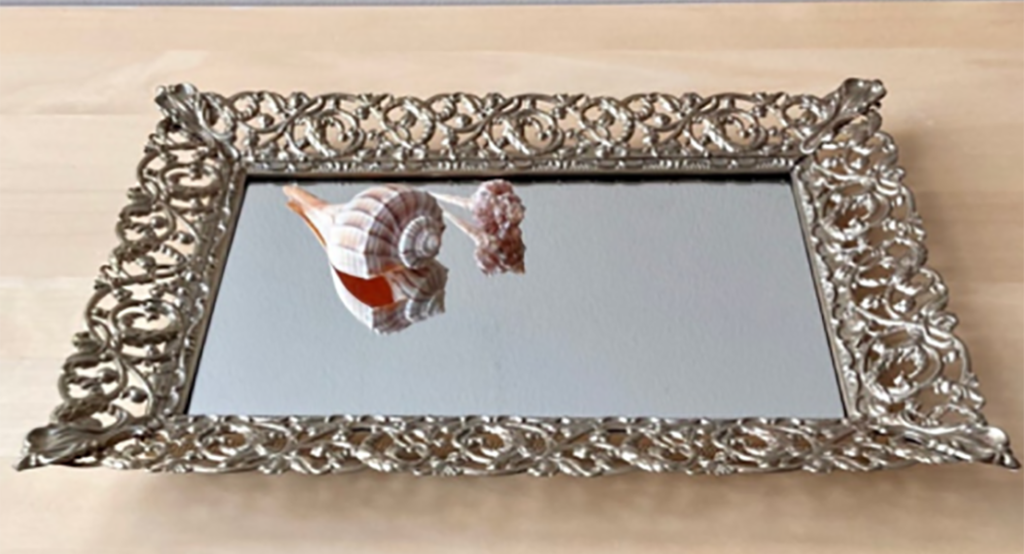
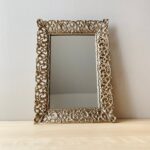
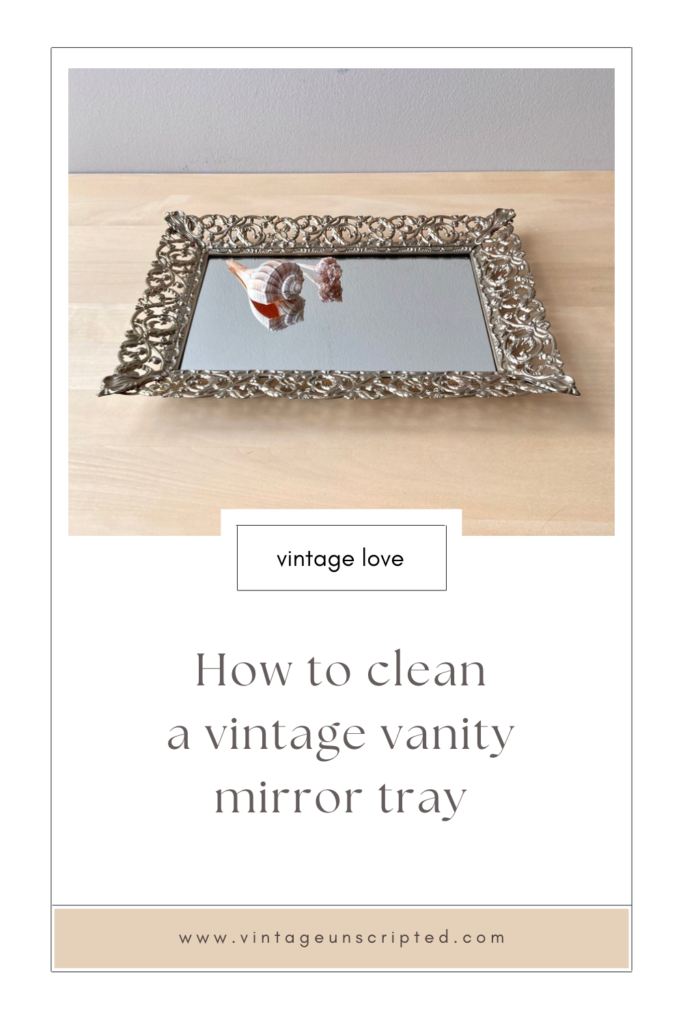
Your mom or grandmother may have had one on her dresser. The vanity mirror tray, popular in the 1950s to the 1970s, is making a comeback in the boudoir and as display centerpieces. They can be found at flea markets and thrift stores as well as high end antique shops. Often their complexion is marred with caked makeup and nail polish spatters. I’ll share with you here how to keep the patina and get rid of the crud.
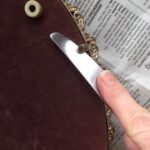
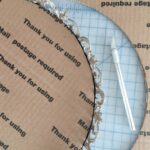
First of all, inspect the mirror for deep scratches to the glass, or wonky bends to the metal frame. Light surface wear and loss of silvering is typical as well as wear to the backer card. Disassemble the mirror, frame and backer card or easel carefully as the mirror glass often has small edge chips. Work on a dry, protected surface. Some folks advise using a non-ammonia based glass cleaner. You may need a product to remove tough adhesive residue or even an Xacto blade to remove dried nail polish on the glass.
You do not want to get water or any cleaning agent on the back or silvered side of the mirror. Carefully clean the glass side of the mirror and set aside. If you are having a new piece of mirror cut (available at your hardware store) wrap the old mirror in several layers of newspaper before disposal. A round or oval replacement mirror will cost considerably more than a rectangle.
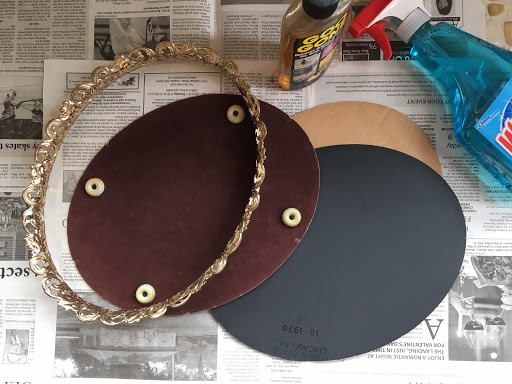
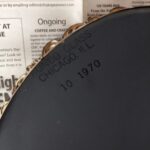
Mirrors are held in place with either a sliding backer card as in a picture frame, small metal flanges or small brass pins. Pry the flanges carefully and avoid bending them back and forth as they will weaken. Set aside the small pins. (I line them up on a piece of adhesive tape to keep track.) You’ll want to replace any backer card that is heavily damaged or mildewed with new cardboard or cardstock. The old mirror may hold a clue to the age of the vanity tray as they sometimes have a date and manufacture stamp. For instance, this one was made in Chicago by Ronco Glass in 1970.
The metal frames are often plated with golden brass, silvertone or a wash of white or pastel paint over metal. They can usually be cleaned with just soapy water and a soft toothbrush. Small areas of rust or oxidation add vintage character. Make sure the metal frame is thoroughly dry before reassembling it with the mirror.
I enjoy hunting for these old beauties and have restored and sold dozens of them in my shop. I have supplied many to brides that have used them as centerpieces for wedding tables…rectangular, round, oval and oblong. Combined with flowers and candlelight they can set a romantic mood or make an elegant beverage tray.

Guest contributor Barbara Hauger is a country gal that longs for an urban cabin close to a coffee shop. She makes her home in Minneapolis, and sells her true vintage online at ionesAttic and her new shop ionesAnnex. Previously, she wrote a DIY post for VU about the vintage brooch bouquet she made for her daughter-in-law.
True vintage available at ionesAttic:
This post originally appeared on the Vintage Etsy Society blog. We love it, and thank Barbara for letting us share it here as well.


4 comments
Barbara, thanks for sharing your expertise with us. I passed the article on to a friend who had inherited a few mirrored trays from her Mom but wasn’t displaying them because of their condition. She asked me to tell you cleaning them up has moved to the top of her “to do” list.
Thank you for your suggestions on cleaning a vanity set. I didn’t think just soapy water would be the answer. I thought that I’d need a professional refinisher.
I can’t wait to try this out!
I tried washing the tray itself with soapy water, but it ended up with filmy coating on it. I’m not sure what the tray is made of. It’s not thick and it’s gold in color.
I’ve been using Bartender’s Friend to clean my brass swan collection and it’s working wonderfully! I haven’t tried it on this tray because I kind got scared when it reacted the way it did with soapy water. I’m stumped! Can you help me?
Oh my! We’ve all had those moments. Not an expert, but my guess is the metal had a lacquer on it. Sure enough, the internet says that if moisture gets under a lacquer coating on metal, the lacquer will turn cloudy. The internet also says that the way to fix it is to reactivate the lacquer by rubbing it with lacquer thinner from the hardware store. Try rubbing an area with a little thinner on a cotton swab and see what happens. And have plenty of ventilation. I’ve never had that happen to me, but I know that in the 80s putting lacquer on brass to cut down on polishing was very popular, so maybe that applied to other metals as well. Good luck!